
1. Introduction
Resin bubbles are one of the most common and frustrating problems in resin art, jewelry making, and DIY projects. You carefully mix, pour, and wait only to notice tiny air pockets ruining an otherwise smooth, glossy surface. These bubbles usually form when air gets trapped during mixing, pouring, or curing, and they can also appear because of temperature changes, moisture, or the type of mold you’re using.
For beginners, bubbles can feel confusing and discouraging, especially when you follow instructions and still don’t get clear results. Even experienced resin artists face this issue from time to time, particularly when working with deep pours or detailed molds. Understanding why does my resin have bubbles is the first step toward preventing them and achieving professional-looking finishes.
The good news is that resin bubbles are not random. Once you know what causes them and how they behave, you can take simple steps to reduce or completely eliminate bubbles in your resin projects.
Table of Contents
2. What Are Air Bubbles in Resin and Where Do They Come From?
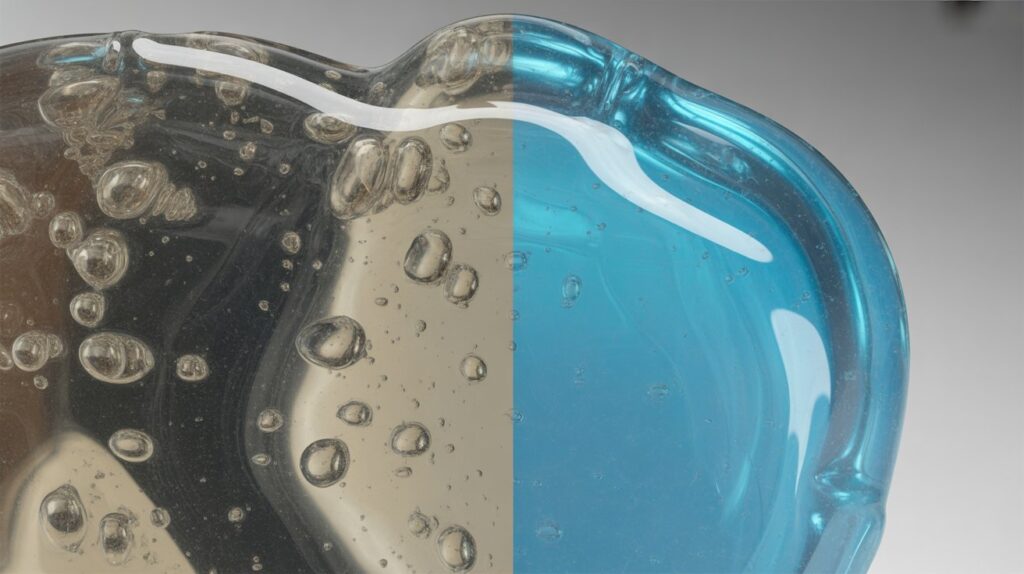
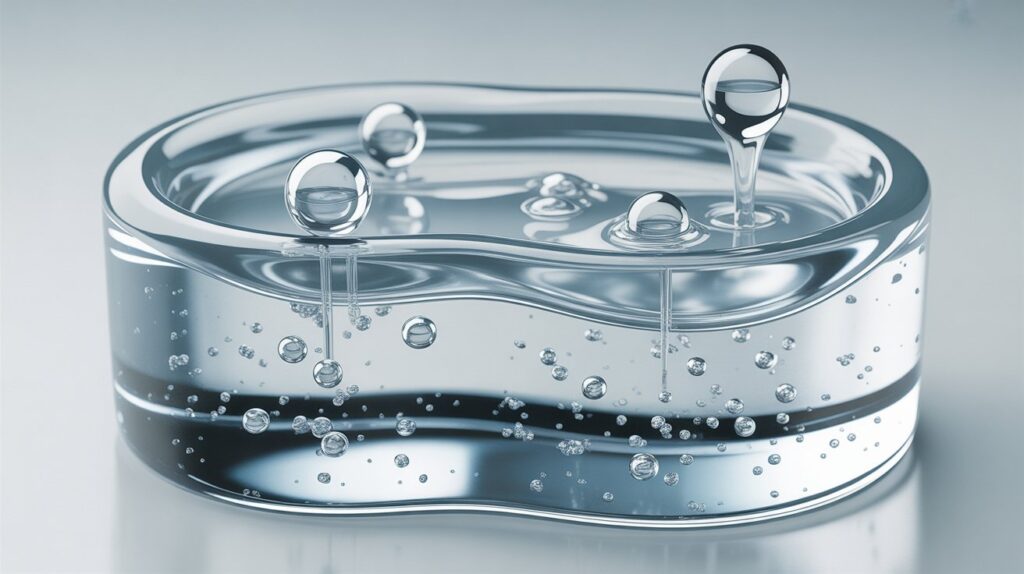
Air bubbles in resin are small pockets of trapped air that get sealed inside the liquid before it hardens. They can appear as tiny dots, larger circles, or even clusters, depending on how the resin was handled. While some bubbles rise to the surface and pop on their own, others stay trapped and become visible once the resin cures.
One of the most common sources of air bubbles is the mixing process. When resin and hardener are stirred together, air naturally enters the mixture especially if stirring is too fast or uneven. Pouring the resin into a mold can also introduce air, particularly when the resin flows into corners, edges, or detailed areas.
Temperature plays a major role as well. Cold resin is thicker and holds onto air more easily, making it harder for bubbles to escape. Moisture in the air or on tools can also cause bubbles to form, sometimes hours after pouring. In addition, certain molds especially deep or complex silicone molds can trap air at the bottom or along fine details. Understanding where these air pockets come from makes it much easier to prevent them. Once you recognize the stages where air is introduced, you can adjust your technique to create smoother, clearer resin results.
3. Does Mixing Technique Cause Resin Bubbles?
Yes, the way resin is mixed plays a major role in how many bubbles appear in the final result. When resin and hardener are combined, air is easily introduced into the mixture. Stirring too quickly or aggressively creates more air movement, which leads to bubbles being trapped in the liquid.
Using the wrong mixing motion can also cause problems. Circular or whipping motions pull air down into the resin instead of allowing it to escape. A slow, steady folding motion is much better, as it blends the materials while minimizing air entry. It’s also important to scrape the sides and bottom of the mixing cup carefully. If this step is rushed, unmixed resin can trap air and release bubbles later during curing.
Another common mistake is switching containers incorrectly. While transferring resin to a second cup helps ensure a proper mix, pouring too fast can reintroduce air. Taking your time during this step helps keep the mixture smooth and bubble-free.
In short, careful, slow mixing is one of the simplest and most effective ways to reduce bubbles before the resin is even poured.
4. How Temperature Affects Resin and Bubble Formation
Temperature has a direct impact on how resin behaves and how easily air can escape from it. When resin is cold, it becomes thicker and more viscous, which makes it harder for trapped air to rise to the surface. As a result, bubbles are more likely to stay suspended in the resin and cure in place.
Warmer resin flows more smoothly, allowing air pockets to move upward and pop on their own. This is why many artists slightly warm their resin bottles before mixing. However, too much heat can create new problems. Overheating may cause the resin to thin too quickly, leading to rapid curing, surface ripples, or even new bubbles forming as the resin reacts.
Room temperature also matters. Working in a space that is too cold or has sudden temperature changes can cause air to expand and contract inside the resin, creating bubbles even after pouring. For best results, resin should be mixed and cured in a stable, moderate environment where temperature remains consistent. Maintaining the right balance not too cold and not too hot helps resin level properly and release trapped air more effectively.
5. How to Get Rid of Bubbles in Resin Before Pouring
Removing bubbles before pouring is one of the best ways to achieve clear and smooth resin results. The first step is to mix the resin slowly and deliberately. Gentle stirring reduces the amount of air introduced into the mixture and gives existing bubbles a chance to rise naturally.
Letting the mixed resin rest for a few minutes can make a big difference. During this time, many air pockets will float to the surface and pop on their own. Avoid covering the cup tightly, as trapped air needs space to escape.
Warming the resin slightly before mixing also helps. Placing sealed resin bottles in warm (not hot) water lowers the viscosity, allowing air to move out more easily. This should be done carefully, as overheating can affect curing performance.
Another helpful technique is to pour the resin in a thin, steady stream when transferring it to molds or surfaces. A slow pour stretches the resin and helps break remaining air pockets. Taking these simple steps before pouring greatly reduces the chance of bubbles appearing later.
6. How to Remove Surface Bubbles After Pouring
Even with careful preparation, some bubbles may still rise to the surface after the resin has been poured. Removing them early is important, as surface bubbles can harden and affect the final finish. One of the most effective methods is using gentle heat. A heat gun or small torch passed lightly over the surface helps pop bubbles quickly. The key is to keep the heat moving and never hold it in one spot, as too much heat can damage the resin.
For small or stubborn bubbles, a toothpick or pin can be used to gently pop them by hand. This method works well for detailed areas or molds with fine edges where heat tools may not reach safely.
Another option is using a light mist of isopropyl alcohol sprayed over the surface. This breaks surface tension and allows bubbles to release more easily. Only a small amount is needed, as excess liquid can affect the surface quality.
Timing matters as well. Surface bubbles should be removed within the resin’s working time, before it begins to thicken. Acting quickly and carefully ensures a smooth, clear finish once the resin cures.
7. Mold Quality and Its Role in Resin Bubbles
The quality and design of the mold have a significant impact on bubble formation in resin projects. Low-quality or worn-out molds often have tiny cracks, rough surfaces, or trapped residue that can hold air and release it into the resin during pouring. This trapped air becomes visible once the resin starts to settle and cure.
Mold shape also matters. Deep molds and those with sharp corners, narrow channels, or fine details tend to trap air at the bottom or along edges. When resin is poured too quickly into these areas, air has no easy escape path and becomes sealed inside. Flexible silicone molds usually perform better than rigid ones, but they still require proper handling to avoid air pockets.
Cleanliness is another key factor. Dust, leftover resin, or moisture inside a mold can create bubbles or surface imperfections. Washing molds gently and allowing them to dry completely before use helps reduce these issues.
Using high-quality, well-maintained molds and pouring resin slowly into detailed areas can greatly improve clarity and reduce unwanted air pockets in the final piece.
8. How to Make Resin Stay Clear Without Bubbles
Keeping resin clear starts with controlling the environment and the materials you use. Moisture is one of the biggest causes of cloudiness and hidden air pockets, so it’s important to work in a dry space and make sure all tools and molds are completely dry before starting. Even small amounts of humidity can affect clarity.
Accurate measuring is equally important. Using the correct resin-to-hardener ratio ensures proper chemical reaction and reduces the chance of trapped air forming during curing. Mixing slowly and thoroughly helps create a smooth blend without introducing unnecessary air.
Pouring technique also affects clarity. A slow, steady pour allows resin to flow naturally and release air as it settles. Pouring in thin layers is especially helpful for deep projects, as each layer has time to level and clear before the next one is added.
Finally, maintaining a stable room temperature during curing helps prevent bubbles from forming later. Sudden temperature changes can cause air to expand inside the resin, leading to clarity issues. With the right setup and careful handling, resin can cure crystal clear and smooth.
9. Does Resin Type Matter? (Epoxy vs UV Resin)
The kind of resin you choose plays a key role in how bubbles form and how clear the finished piece appears. Epoxy resin is thicker and must be mixed with a hardener, which can introduce air if stirred too vigorously. Because it cures more slowly, bubbles have more time to rise to the surface, but this also gives you an opportunity to remove them using a torch, heat gun, or gentle mist of alcohol before the resin sets completely.
UV resin behaves differently. It cures rapidly under UV light and usually comes as a single-component formula, which reduces the chance for bubbles to appear during curing. However, its fast setting time means there’s less room to fix mistakes or eliminate bubbles after pouring. UV resin works best for smaller projects, jewelry, and thin layers where achieving a clear, bubble-free finish is easier with careful handling.
Selecting the right resin depends on your project. Epoxy is ideal for larger pours, layered designs, or thick pieces, while UV resin excels for fine details and quick results. Knowing how each type behaves helps you minimize air pockets and achieve smooth, clear finishes every time.
10. How to Make Sure Resin Is Fully Cured (Without Cloudiness)
Ensuring resin cures completely is essential for achieving a smooth, clear finish. Incomplete curing can leave the surface sticky, cloudy, or soft in some areas. The first step is to follow the manufacturer’s recommended curing time and temperature carefully. Rushing the process or exposing resin to cooler conditions can interfere with the chemical reaction and result in cloudiness.
Maintaining a stable environment is also crucial. Sudden changes in temperature or humidity can affect curing, causing uneven hardening or trapped moisture. Work in a space with consistent warmth and low humidity to reduce these risks.
Proper mixing plays a role as well. Make sure the resin and hardener are measured accurately and blended thoroughly. Any unmixed portions can remain soft or cloudy, even after the recommended curing period.
Finally, give resin enough time to rest after pouring. Even if the surface appears dry, internal layers may still be curing. Patience ensures the entire piece hardens evenly and remains crystal clear, free of bubbles or cloudiness.
11. How to Make Resin Shine Like Glass After Curing
Achieving a glass-like finish on resin requires proper finishing techniques after it has fully cured. Even the clearest resin can appear dull if the surface is uneven, scratched, or has leftover dust from the molding process.
Start by sanding the resin surface with progressively finer grit sandpaper, beginning with around 400 grit and working up to 2000 grit. Wet sanding is recommended, as it prevents dust and heat buildup while producing a smoother surface. Take your time with each grit to ensure scratches from the previous stage are completely removed.
Once sanding is complete, polishing is key. Use a plastic or resin polishing compound and a soft cloth or buffing wheel to bring out a high-gloss shine. Apply gentle, even pressure in circular motions until the surface reflects light like glass.
For an extra layer of brilliance, consider a thin top coat of resin or a clear gloss sealant. This not only enhances shine but also protects the surface from scratches and yellowing over time. With careful sanding, polishing, and finishing, resin pieces can achieve a professional, mirror-like appearance that highlights their clarity and colors beautifully.
12. Common Mistakes That Cause Bubbles in Resin
Several simple errors can lead to air pockets forming in resin, even when other steps are done correctly. Being aware of these common mistakes helps prevent unwanted imperfections.
Stirring Too Fast:
Mixing resin too quickly introduces air into the liquid. Aggressive or whipping motions trap bubbles instead of allowing them to escape.
Shaking the Bottle:
Many beginners shake resin bottles before pouring. This adds air to the mixture and increases the likelihood of bubbles.
Pouring Too Quickly:
Pouring resin from a height or too rapidly can trap air as it hits the mold or surface. Slow, steady pours reduce this problem.
Using Damp Tools or Molds:
Moisture reacts with resin, creating tiny bubbles or cloudiness. Always ensure molds and tools are dry before use.
Temperature Fluctuations:
Working in a cold room or moving resin between areas with different temperatures can cause air expansion, leading to bubbles.
Skipping Rest Time:
Not allowing the mixed resin to settle for a few minutes before pouring prevents air from naturally rising to the surface. Avoiding these mistakes goes a long way in achieving smooth, clear resin projects and ensures a professional-looking finish every time.
13. Quick Troubleshooting Guide: Bubble Problems & Solutions
Even experienced resin artists encounter bubbles from time to time. Knowing how to identify and fix them quickly can save time and protect your project.
1. Tiny Bubbles Throughout the Resin
Cause: Air trapped during mixing or pouring.
Solution: Gently heat the surface with a heat gun or torch. Allow the resin to sit undisturbed for a few minutes so bubbles can rise and pop naturally.
2. Large Bubbles on the Surface
Cause: Pouring too quickly or unevenly.
Solution: Use a toothpick or pin to pop the bubbles immediately. A light mist of isopropyl alcohol can also help break surface tension.
3. Bubbles in Deep or Detailed Molds
Cause: Air trapped in corners or fine details.
Solution: Pour resin slowly and in layers, giving each layer time to settle. Use a toothpick to guide bubbles out of tight areas.
4. Bubbles Appearing Hours After Pouring
Cause: Moisture or temperature fluctuations.
Solution: Keep the curing environment stable, warm, and dry. Avoid moving the resin until it is fully set.
5. Cloudy or Murky Resin
Cause: Unmixed resin, moisture, or rapid curing.
Solution: Ensure proper mixing ratios, avoid introducing water, and maintain a consistent curing temperature. By understanding these common issues and their solutions, you can prevent most bubble problems and achieve smooth, clear, professional-quality results.
14. FAQs
Q1. Does heat get rid of bubbles in resin?
Yes. Applying gentle heat with a heat gun or small torch helps trapped air rise to the surface and pop. Always keep the heat moving to avoid damaging the resin.
Q2. How long should resin sit to get rid of bubbles?
After mixing, letting resin sit for 5–10 minutes allows most small bubbles to naturally rise and dissipate. Thicker pours or colder resin may require slightly more time.
Q3. How do you fix bubbles in epoxy after it dries?
For cured epoxy, surface bubbles can be sanded down carefully using fine-grit sandpaper. After sanding, a thin layer of clear resin or a polishing compound can restore a smooth, glossy finish.
Q4. Does spraying alcohol on resin get rid of bubbles?
Yes, a light mist of isopropyl alcohol on the surface can help break the surface tension and release tiny bubbles. Only a small amount is needed, as too much can affect the resin’s clarity.
Q5. How to smooth out epoxy after curing?
To smooth cured epoxy, start with wet sanding using progressively finer grit sandpaper. Once smooth, polish with a resin or plastic polishing compound to achieve a clear, glass-like shine.
15. Final Thoughts
Bubbles can be one of the most frustrating challenges in resin projects, but they are entirely preventable with the right techniques. Understanding why does my resin have bubbles is the first step to achieving smooth, clear results consistently.
To minimize air pockets, always mix resin slowly and carefully, scraping the sides and bottom of the cup to ensure thorough blending. Letting the resin rest for a few minutes before pouring gives trapped air a chance to escape naturally. Temperature control is also crucial: working in a stable, moderate environment helps resin flow properly and reduces bubble formation.
Using clean, dry molds and tools, pouring resin in thin layers when possible, and applying gentle heat or alcohol sprays to the surface can further improve clarity. Selecting the right type of resin for your project, whether epoxy or UV resin, also affects how easily bubbles appear and how they can be managed.
By following these practices, you can prevent bubbles before they form and consistently create professional-quality resin pieces. Consistency, patience, and attention to detail are key to achieving that crystal-clear, flawless finish every time.