
Introduction
You finally finish your resin project, let it cure… and then you notice bubbles trapped inside.
It’s one of the most frustrating moments for any resin artist.
The good news?
Even if your resin has already dried, you can still fix bubble problems. You don’t have to throw your project away or start over.
In this guide, you’ll learn how to remove bubbles from resin after drying using simple, proven methods that work for jewelry, coasters, key chains, artwork, and more. Sometimes bubbles happen if the resin hasn’t fully cured. Learn more about how long does resin take to cure without UV light
Table of Contents
Why Do Bubbles Appear in Dried Resin?
Bubbles usually form because air gets trapped during the process. Common reasons include:
- Mixing the resin too fast
- Pouring thick layers at once
- Working in a cold room
- Moisture in molds or on surfaces
- Not releasing bubbles with heat or time
- Also, knowing how long resin takes to cure without UV light helps prevent trapped bubbles.
Sometimes bubbles rise and pop on their own. Other times, they get stuck inside and harden with the resin.
Can You Fix Bubbles After Resin Has Fully Cured?
Yes, you can and it’s easier than you think.
The right method depends on where the bubble is located.
| Type of Bubble | Can It Be Fixed? | Best Solution |
| On the surface | Yes | Sand and polish |
| Just below surface | Yes | Sand and recoat |
| Deep inside resin | Yes | Drill and refill |
| Tiny pinholes | Yes | UV resin spot repair |
Let’s look at each method in detail.
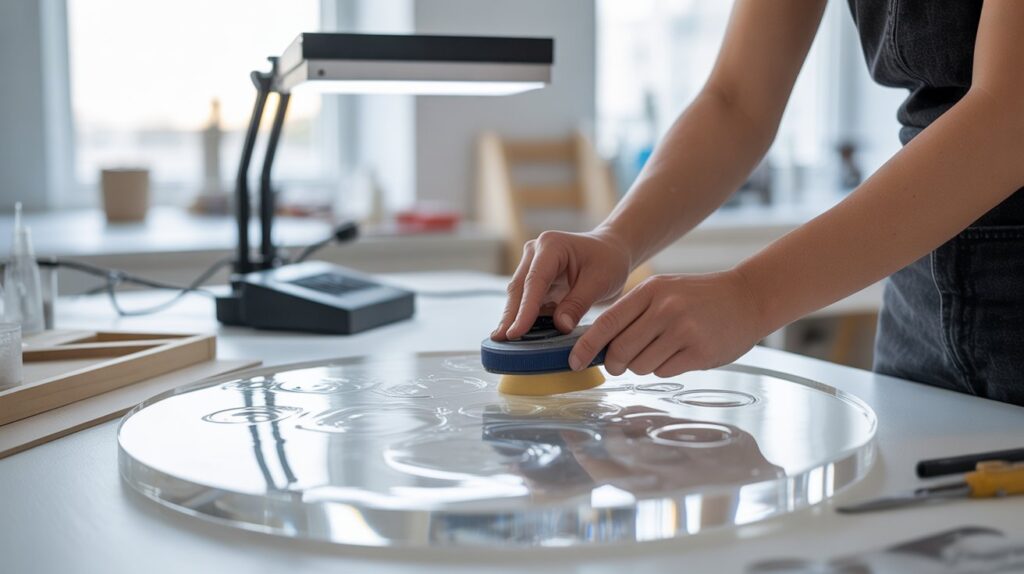
Method 1: Sand and Polish Surface Bubbles
Best for: small bubbles on the top layer
What you need
- Sandpaper (400 to 2000 grit)
- Water for wet sanding
- Resin polish or rubbing compound
How to do it
- Start sanding gently with 400 or 600 grit.
- Move to finer grits until the surface feels smooth.
- Polish the area to bring back the shine.
This method works great for minor surface flaws and keeps your piece looking brand new.
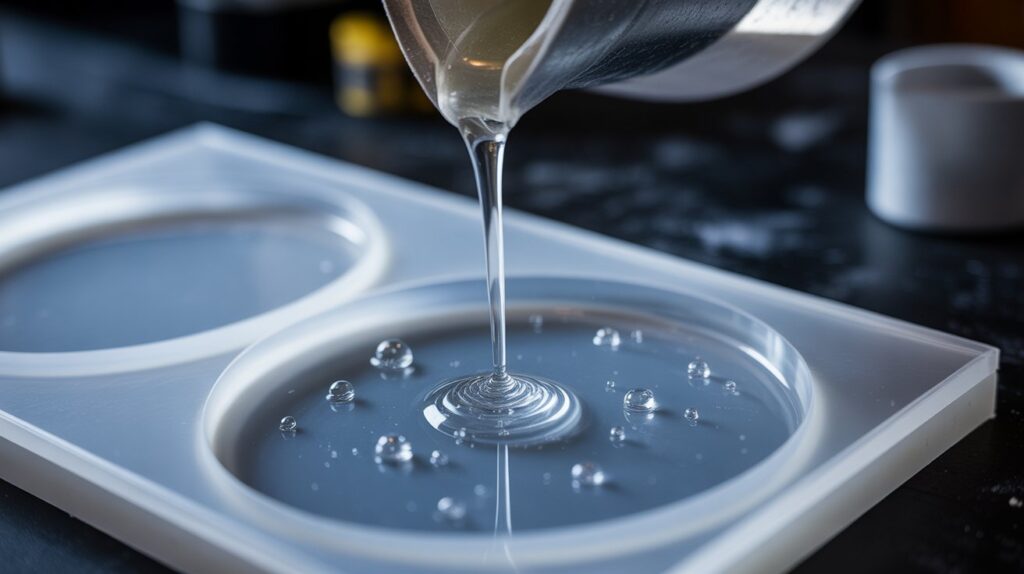
Method 2: Sand and Add a New Resin Layer
Best for: bubbles just under the surface
What you need
- Fine sandpaper
- Alcohol wipes or a clean cloth
- Fresh resin or UV resin
Steps
- Sand until the bubble is fully opened.
- Clean away all dust.
- Pour or drip a thin layer of fresh resin.
- Let it level out and cure completely.
This blends the repair so well that the bubble often disappears completely.
Method 3: Drill and Fill Deep Bubbles
Best for: large bubbles trapped inside thick resin
What you need
- Small hand drill or pin vise
- Toothpick or syringe
- Thin resin or UV resin
How it works
- Carefully drill a tiny hole into the bubble.
- Clean out the dust.
- Fill the hole with thin resin.
- Cure fully.
- Sand and polish the surface.
This sounds advanced, but it’s actually one of the most effective professional repair methods.
Method 4: Use UV Resin for Quick Fixes
Best for: small cracks, pinholes, and shallow bubbles
UV resin is perfect because it:
- Is very thin
- Levels easily
- Cures in minutes
Steps
- Lightly sand the bubble area.
- Add a drop of UV resin.
- Cure with a UV lamp or sunlight.
- Sand and polish if needed.
This is one of the fastest ways to remove bubbles from resin after drying.
Method 5: Heat Reflow (Only in Special Cases)
⚠️ This only works if your resin is not fully cured.
“Check how long resin takes to cure without UV light to make sure the resin is ready.”
If the resin is still slightly soft, gentle heat from:
- A heat gun (low setting)
- A hair dryer
can help small surface bubbles rise and pop.
Once resin is completely hard, heat will not remove trapped bubbles.
When Bubbles Can’t Be Completely Removed
Sometimes bubbles are:
- Too deep to reach
- Surrounded by cloudy resin
- In areas that can’t be drilled safely
In these cases, try:
- Adding a decorative top coat
- Turning the surface into a frosted or matte finish
- Using paint, foil, or texture to cover the spot
Many “mistakes” turn into unique design features with a little creativity.
How to Prevent Bubbles in Future Resin Projects
Fixing bubbles is great but preventing them is even better.
Before you pour
- Warm resin bottles in warm water
- Mix slowly and gently
- Let mixed resin sit for 5–10 minutes
While pouring
- Pour in a thin stream
- Use a toothpick to pop bubbles
- Pass a heat gun lightly over the surface
For best results
- Work in a warm, dry room
- Use clean silicone molds
- Seal wood or paper before embedding
FAQS
Can bubbles be removed from fully cured resin?
Yes. You can sand, drill, and refill bubbles even after the resin is completely hard.
What’s the easiest fix for bubbles after drying?
For small defects, UV resin spot repair is the quickest and simplest solution.
Will sanding make resin cloudy?
At first, yes. But polishing or adding a thin top coat will restore the shine.
Can I just pour another layer on top?
Yes. For shallow bubbles, a fresh top layer often hides flaws perfectly.
Does temperature affect bubble repair in cured resin?
Yes. If the room is too cold, repair resin becomes thick and may trap new air bubbles. Always work in a warm space (around 22–25°C / 72–77°F) so the resin flows smoothly into the repaired area.
Can I use clear glue instead of resin to fill bubbles?
It’s not recommended. Clear glue may look fine at first, but it can turn cloudy, shrink, or yellow over time. For lasting results, always use resin or UV resin for bubble repairs.
How long should I wait before sanding repaired resin?
You should wait until the repair resin is fully cured—usually 12–24 hours for epoxy resin or a few minutes for UV resin. Sanding too early can cause smears and dull patches.
Does curing time affect bubbles?
Yes. If resin isn’t fully cured, it can trap air and form bubbles. Learn more about how long resin takes to cure without UV light
Conclusion
Learning how to remove bubbles from resin after drying can save you time, money, and a lot of frustration. Bubbles don’t have to mean the end of your project with simple techniques like sanding, drilling, and using UV resin for quick fixes, you can restore your piece and make it look professional again. The key is knowing which method to use based on how deep the bubble is and acting carefully so the repair blends in perfectly. With a little practice, you’ll not only fix bubble problems with confidence but also prevent them in future projects, making every resin creation smoother, clearer, and more satisfying to finish.