
1. Introduction:
What is the best UV light for resin? The answer depends on how efficiently the light can cure resin, how evenly it spreads UV exposure, and how well it matches the type of resin you are using. UV resin hardens through a chemical reaction triggered by ultraviolet light, so the quality of the UV light directly affects curing speed, surface finish, and long-term durability. Using the wrong light can lead to sticky surfaces, soft spots, or incomplete curing.
The best UV light for resin usually delivers the correct wavelength (most commonly 365nm or 395nm), has enough power to cure resin evenly, and suits your project size whether you are working on small jewelry pieces, crafts, or detailed resin designs. In this guide, you will learn how UV lights work with resin, which features actually matter, and how to choose a UV curing light that gives consistent, professional results without overpaying or guessing.
Table of Contents
2. How UV Light Works With Resin (Quick Science)
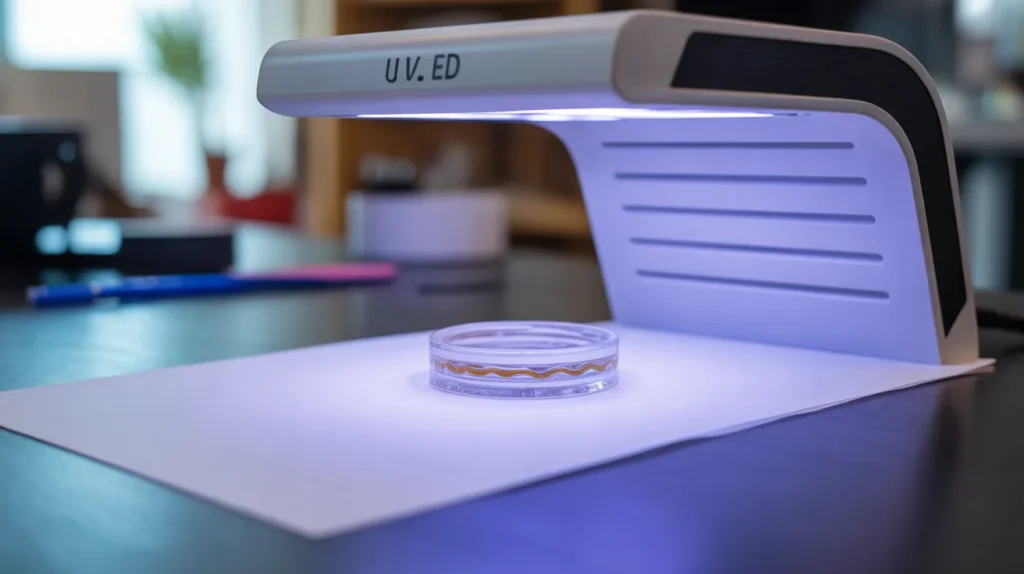
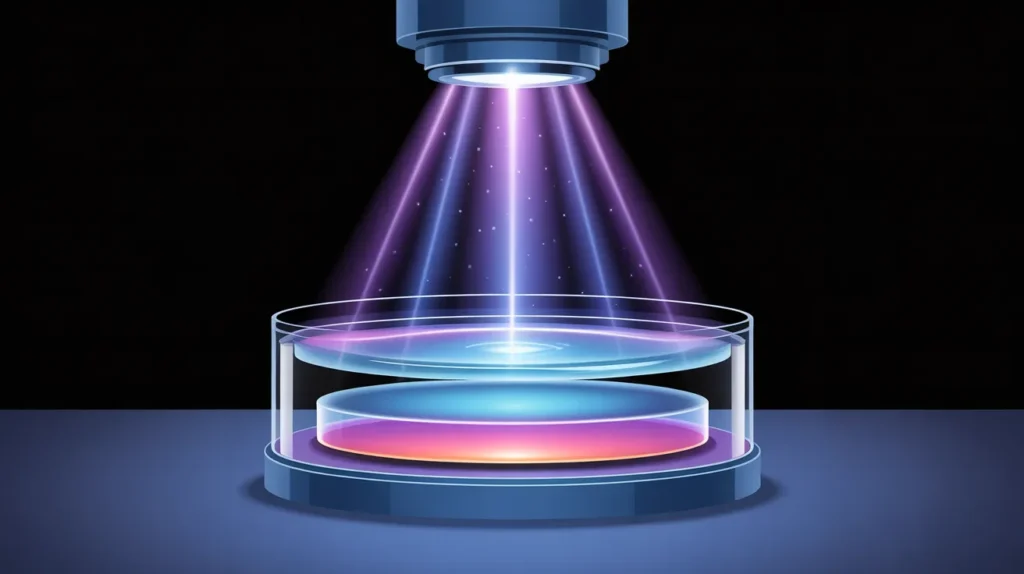
UV resin hardens through a process called photopolymerization. Inside the liquid resin are special compounds known as photoinitiators. When these compounds are exposed to ultraviolet light, they activate and start a chemical reaction that turns the resin from a liquid into a solid. This reaction happens quickly, which is why UV resin can cure in minutes instead of hours.
The wavelength of the UV light plays a critical role in this process. Most UV resins respond best to light in the 365nm to 395nm range, which falls under UV-A light. Light outside this range may look bright but will not properly activate the resin, leading to weak or uneven curing. This is also why not every UV lamp works the same, even if the power rating looks similar.
Light intensity and exposure time also affect results. Stronger UV output allows the resin to cure faster and more evenly, while low-power light may only harden the surface and leave the inside soft. For thicker pours or detailed pieces, curing in thin layers helps ensure the UV light penetrates fully and creates a strong, durable finish.
3. Key Features to Compare in UV Lights for Resin
Choosing the right lamp involves more than just picking the most expensive model. To find a light that consistently cures resin well and fits your specific needs, it helps to understand the key features that make a difference. Below are the most important aspects to compare before you buy.
3.1 Wavelength (365nm vs 395nm)
Not all UV lights emit the same type of light. The wavelength determines how well the light activates the photoinitiators in resin. Wavelengths around 365nm reach deeper into the material and often result in stronger, more thorough curing. Lights around 395nm can work well with many resins, especially for surface or thin layers, but may be less effective for thicker pours.
3.2 Power Output and Curing Efficiency
The strength of the light affects how quickly and effectively it cures. Power is usually measured in milliwatts per square centimeter (mW/cm²). A higher power output can reduce curing time and improve consistency, but it may also generate more heat. Balance output with your project’s needs to avoid overheating delicate work.
3.3 Coverage Area and Design
Think about the size of the area the light covers. Small, handheld lamps are ideal for tiny jewelry pieces and quick touch-ups. Larger stations with multiple LEDs or reflective interiors work better for bigger projects like resin art panels or bulk curing. The design also influences how evenly the light spreads over your workpiece.
3.4 Portability and Power Source
Some lights are designed to stay plugged in, while others run on batteries or USB power. If you move around a lot or work in different locations, a cordless, rechargeable model offers flexibility. Plug-in lamps tend to deliver more consistent power for longer sessions but limit where you can use them.
3.5 Timers and Controls
Built-in timers and preset curing modes help ensure consistent results. Being able to set a precise duration means you don’t have to guess how long to leave the light on. Some models also include automatic shutoff or adjustable intensity levels, which can make curing easier and more reliable.
3.6 Safety Features
UV light can be harmful to eyes and skin if exposed directly. Look for lights with protective shields or covers to reduce direct exposure. Some units also include warning indicators or automatic cutoffs to enhance user safety.
3.7 Durability and Warranty
A well-built lamp with quality components will last longer and perform more reliably over time. Check for LED lifespan ratings and whether the manufacturer offers a warranty or support. Good durability protects your investment and ensures consistent curing results over many projects.
4. Best UV Lights for Resin in 2026 – Tested & Ranked
Below are some of the top performing curing lights and lamps that resin artists, hobbyists, and 3D-printing enthusiasts are using in 2026 ranging from portable handheld options to larger curing stations that provide fast, even results. These picks are based on hands-on reviews and product comparisons available from recent sources.
1. Suzzam Double-Sided Lamp – Broad Coverage & Fast Results
This dual-panel light stands out for its 36 W output and wide curing area, making it ideal for medium-sized projects and jewelry pieces. The dual sides work together to reduce the need for flipping items mid-cure, and multiple timer settings help ensure consistent results.
Why it’s notable:
- Balanced power suited for detailed work and small to mid-size items
- Built-in timer reduces guesswork
- Even light distribution improves cure consistency
Ideal for: Craft creators, 3D printed miniatures, jewelry makers
2. Darkbeam 365 nm Triple LED – Premium Handheld Power
For those who prefer a handheld option with strong output, the Darkbeam triple LED model combines a robust 20 W triple LED array with a pure 365 nm wavelength that penetrates resin layers effectively. Designed as a higher-end portable solution, it’s a reliable tool for on-the-go curing, touch-ups, and smaller projects.
Why it’s notable:
- Strong pure UV output for deep, quick cures
- Reduces curing time for small to medium casts
- USB-C charging for flexibility
Ideal for: Advanced hobbyists, professionals who need portable performance
3. Darkbeam Dual Wavelength EDC – Most Versatile
This model stands out thanks to two UV wavelengths (365 nm and 395 nm) and multiple lighting modes. In addition to curing resin, its COB side lights and magnetic base add real utility for workspace illumination and hands-free positioning a bonus for crafts and adjustments.
Why it’s notable:
- Dual-wavelength flexibility for different resin types
- Hands-free positioning with a magnetic base
- Multi-mode lighting expands usability
Ideal for: Users who want versatility and portability in one tool
4. Sunlu 3D Curing Station – Easy Hands-Off Curing
Moving up to a station unit, the Sunlu 3D curing box delivers larger coverage and faster results with its integrated turntable and timer. It efficiently cures pieces without manual repositioning, which is helpful for artists working with multiple elements or thicker resin pours.
Why it’s notable:
Built-in rotation ensures even light exposure
Larger space for curing multiple pieces at once
Simple timer controls
Ideal for: Hobbyists and intermediate resin artists
5. Kisrel Dual-Side 36 W Unit – Flexible and Efficient
Another station-style option, this model has dual-side LED panels and dual wavelengths (365 nm + 405 nm). It’s especially effective when curing complex shapes or pieces that benefit from light hitting from multiple angles.
Why it’s notable:
- Dual panels help reduce shadows and uneven spots
- Flexible configuration for different project sizes
- Adjustable timing makes it beginner-friendly
Ideal for: Jewelry makers and intricate resin designs
How These Lights Compare
| Feature | Handheld Lights | Station/Curing Boxes |
| Portability | ✔ Excellent | ✘ Limited |
| Coverage Area | Small to Medium | Medium to Large |
| Ease of Use | Requires manual positioning | Hands-off curing |
| Best for | Quick jobs, touch-ups | Larger batches, even light |
Quick Takeaways
✅ Handheld options are best if you want flexibility or fast surface cures.
✅ Curing stations provide more even exposure and are ideal for larger or multiple pieces at once.
✅ Models that combine multiple wavelengths offer broader resin compatibility and faster core curing.
5. How to Choose the Best UV Light for Your Resin Project
Picking the right lamp for your resin work can make a big difference in both the quality of your pieces and how smoothly your process goes. Here are the key factors to consider so you can choose with confidence:
1. Identify Your Project Type
Start by thinking about the size and detail of the pieces you usually create. Small jewelry or miniature figurines need a light that cures precisely and evenly in tight areas. Larger artwork or bulk batches benefit from a unit with wider coverage or a curing station that handles multiple pieces at once.
2. Match Light Output to Your Resin
Different resins respond better to certain wavelengths and intensities. Check the resin manufacturer’s recommendations many specify optimal wavelength ranges. Lights with outputs around 365–395 nm typically work well with commonly used UV resins. More powerful lights generally cure faster and more thoroughly, but they may produce more heat, so balance intensity with project needs.
3. Think About Portability
If you need to cure pieces in different locations or enjoy outdoor crafting sessions, a cordless or rechargeable light can be a huge advantage. For dedicated workspaces, a plug-in model or curing station offers uninterrupted power and consistent intensity during longer sessions.
4. Evaluate Ease of Use
Controls like preset timers, adjustable intensity, and automatic shutoff can simplify your workflow and help you avoid under- or over-curing. For beginners, models with clear, simple settings reduce guesswork and improve repeatability.
5. Consider Safety Features
Ultraviolet light can be harmful if it reaches unprotected skin or eyes. Lights with shields, covers, or built-in guards reduce direct exposure. Some units also include safety cutoffs or indicator lights to show when the lamp is active.
6. Check Durability and Support
A well-constructed light with quality LEDs and good heat management performs more reliably over time. Look for units with a warranty or manufacturer support, which can add peace of mind and protect your investment.
7. Budget vs Value
Higher-end lights often offer better performance and more features, but budget-friendly options can still deliver excellent results for smaller projects or occasional use. List the features you truly need, then compare models within your price range to find the best fit.
Final Thought
Balancing your specific needs with the features above will lead you to a lamp that not only cures resin effectively but also enhances your creative process. Take time to assess how you work, what materials you use, and how much control you want over curing this approach ensures you choose a tool that feels right for your style and projects.
6. Expert Tips to Cure Resin Like a Pro
Getting professional-looking results with UV resin is not just about the lamp you use—it’s also about technique. The following expert tips will help you achieve a harder cure, clearer finish, and more consistent results.
Work in Thin Layers
UV light penetrates resin only to a certain depth. Pouring or applying resin in thin layers allows the light to reach all areas evenly. For thicker pieces, cure one layer fully before adding the next to prevent soft spots or trapped uncured resin inside.
Maintain the Right Distance
Keep the light at the recommended distance, usually a few inches above the surface. Holding it too close can cause overheating or surface rippling, while placing it too far away may lead to incomplete curing. Consistent spacing ensures even exposure.
Rotate or Reposition the Piece
Shadows can form around edges, curves, or raised details. Gently rotating the piece or changing the angle during curing helps light reach all sides, especially when working with complex shapes or molds.
Use Timed Curing Instead of Guessing
Rely on set curing times rather than visual judgment alone. Even if the surface looks hard, the inside may still be soft. Using a timer helps achieve a more complete cure and repeatable results across multiple projects.
Avoid Overheating
Long exposure under strong light can generate heat, which may cause warping, bubbles, or yellowing. If the piece feels warm, pause and let it cool before continuing. Short curing cycles are often more effective than one long session.
Keep the Surface Clean
Dust, fingerprints, and debris can block UV exposure and affect the final finish. Clean your work surface and molds before curing, and cover pieces when not actively working on them.
Test Before Final Curing
When using a new resin or lamp, test on a small sample first. This helps you understand ideal curing times and prevents mistakes on your main project.
Pro Tip
A fully cured piece should feel hard, smooth, and non-tacky. If it remains sticky, additional exposure or thinner layers usually solve the issue.
By applying these techniques, you can consistently achieve clean, strong, and professional results with UV resin.
7. FAQs
Q1: What wavelength works best for curing UV resin?
Most UV resins cure efficiently under light in the 365nm to 395nm range. Some resins respond better to 365nm for deeper curing, while others are formulated for 395nm. Always check the resin manufacturer’s recommendations for best results.
Q2: Can any UV lamp cure resin?
No. A lamp must emit the correct UV wavelength and enough intensity to activate the resin. Some UV lamps used for nails or inspection purposes may not provide consistent or deep curing for resin projects.
Q3: How long should resin be exposed to UV light?
Curing time depends on the lamp’s strength, the resin type, and layer thickness. Thin layers may cure in 30 seconds to 2 minutes, while thicker layers often need multiple cycles with short cooling breaks in between.
Q4: Why does resin feel sticky after curing?
A sticky surface usually means the resin is under-cured. This can happen if the layer is too thick, the light output is too weak, or exposure time is too short. Additional curing or thinner layers usually fix the issue.
Q5: Is it better to cure resin in layers?
Yes. Curing in thin layers allows UV light to penetrate evenly, reducing the risk of soft spots or incomplete hardening inside the piece.
Q6: How far should the UV lamp be from the resin?
Most projects cure well when the lamp is positioned 2 to 6 inches from the surface. Staying within this range helps balance intensity and coverage without overheating the resin.
Q7: Does UV resin cure in sunlight?
Yes, UV resin can cure in direct sunlight, but the results are unpredictable. Sunlight intensity varies and may cause uneven curing, making controlled UV lamps a more reliable option.
8. Safety Best Practices (E-A-T Booster)
Working with UV-sensitive resin requires careful attention to safety. Following proper precautions protects your skin, eyes, and workspace, while also demonstrating professional expertise for readers and search engines alike.
1. Protect Your Eyes
UV light can cause damage with prolonged exposure. Always wear UV-blocking safety glasses or goggles when curing resin. Avoid looking directly at the light, even for short periods, and ensure bystanders are protected as well.
2. Shield Your Skin
Direct exposure to UV light can irritate skin. Wear gloves and long sleeves, especially when working with strong lamps or larger projects. If possible, use a shield or cover that blocks stray UV rays while allowing you to monitor your work.
3. Ensure Proper Ventilation
Some resins release fumes while curing, which can be irritating in enclosed spaces. Work in a well-ventilated area or use an extractor fan. Avoid inhaling vapors directly, and keep resin containers closed when not in use.
4. Handle Resin Safely
Always follow the manufacturer’s instructions for mixing, pouring, and curing. Clean up spills immediately, and dispose of waste responsibly. Avoid skin contact with uncured resin, as it can cause irritation or allergic reactions.
5. Monitor Heat Generation
High-intensity lamps can generate heat, especially during prolonged curing. Allow the lamp and resin pieces to cool between sessions to prevent warping, bubbling, or accidental burns.
6. Maintain Equipment Properly
Regularly inspect your lamp for damage, loose LEDs, or cracks in shields. Keeping equipment in good condition ensures consistent curing and reduces the risk of accidents.
Following these safety best practices not only protects you but also establishes trust with your audience. Readers appreciate guidance that emphasizes both professional results and responsible, safe crafting techniques.
9. Conclusion
Choosing what is the best UV light for resin comes down to matching your lamp to the type of projects you create, the size of your workpieces, and your preferred workflow. A high-quality unit with the correct wavelength, sufficient power, and safety features ensures even curing, reduces mistakes, and produces professional-looking results every time.
For small jewelry pieces or detailed miniatures, a portable handheld lamp with a precise UV output works best. For larger artwork or multiple pieces, a station-style curing box with wide coverage and timers offers more convenience and consistent results. Paying attention to features like adjustable timers, protective shields, and dual wavelengths can further enhance your workflow and protect both you and your creations.
Ultimately, investing in the right lamp not only speeds up your process but also ensures durability and a flawless finish. By selecting a lamp that fits your needs and following proper techniques and safety practices, you can confidently achieve stunning, fully cured resin pieces every time.