
Introduction
How to dry resin without UV light is a common question among beginners who want to make resin jewelry, keychains, and DIY crafts without using a UV lamp. While UV resin is designed to cure under ultraviolet light, there are a few effective alternatives that can help in certain situations. In this guide, you’ll learn how to dry resin without UV light, the best curing methods, common mistakes to avoid, and practical tips to achieve a smooth, clear, and fully hardened resin finish.
Table of Contents
Can Resin Dry Without UV Light?
Yes, some types of resin can harden without a UV lamp, but it depends on the type of resin you are using. Not all resins cure in the same way, so understanding the difference is important.
UV resin is designed to cure when it is exposed to ultraviolet light. Without this light source, the resin usually stays liquid or becomes sticky. In some cases, strong sunlight can help because it naturally contains UV rays, but the curing process may take longer and may not always be consistent. On the other hand, epoxy resin cures in a completely different way. It uses two parts: the resin and a hardener. When these two components are mixed together in the correct ratio, a chemical reaction starts. This reaction slowly turns the liquid into a solid material, even without any UV exposure.
Because of this difference, epoxy resin is often a better choice for projects when a UV lamp is not available. It may take several hours to fully cure, but it can still create a strong and clear finish. Understanding how each resin works will help you choose the right method and avoid problems like sticky or uncured resin.
Best Methods to Dry Resin Without UV Light
If a UV lamp is not available, there are still a few simple ways to help resin cure properly. The method you use mostly depends on the type of resin and the environment. Below are some practical options many crafters use.
Use Natural Sunlight
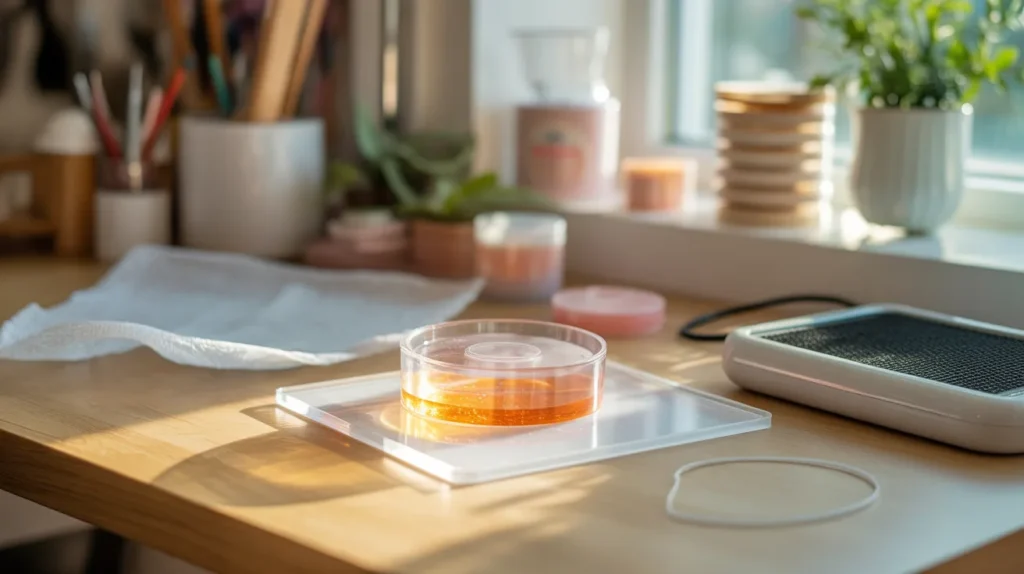
Sunlight contains natural UV rays that can help cure UV resin. Place your resin piece near a sunny window or outside in direct sunlight. The curing time may be slower than a UV lamp, but strong sunlight can still help the resin harden.
Use Epoxy Resin Instead
Epoxy resin does not need UV light to cure. It uses two parts: resin and hardener. When these two liquids are mixed correctly, a chemical reaction starts that slowly turns the resin into a solid. This makes epoxy resin a good option for many crafts and jewelry projects.
Use a Warm Environment
Temperature can affect how resin cures. Keeping your project in a warm room can help the resin harden more evenly. A room temperature of around 24–30°C (75–86°F) usually works well for many resin types.
Apply Thin Layers
Thick layers of resin take longer to cure and may stay soft inside. Applying thin layers helps the resin cure more evenly and reduces the chance of sticky spots.
Allow More Time
Some resins simply need more time to cure. Leaving the piece undisturbed in a clean and warm place for several hours or even a full day can help it harden properly. Using these methods can help improve the curing process and allow resin projects to harden successfully even without special lighting equipment.
Tools That Help Resin Cure Without UV Light
Even without a UV lamp, a few simple tools can help resin harden more evenly and safely. These tools mainly help control temperature, dust, and curing conditions, which are important for good results.
Resin Curing Box
A curing box is a simple container used to protect resin pieces while they harden. It keeps dust, dirt, and small particles away from the surface. Many crafters make a DIY curing box using a plastic container or cardboard box with small air holes.
Heating Pad or Heat Mat
A heating pad can provide gentle warmth, which helps the curing process. Warm temperatures help the resin harden more evenly. Just make sure the heat is not too strong, because too much heat can damage the resin or create bubbles.
Warm Room or Workspace
Keeping your resin projects in a warm room can make a big difference. Resin usually cures better in temperatures around 24–30°C (75–86°F). A stable temperature helps the material harden properly.
Dust Cover
A simple dust cover, such as a plastic container or bowl, can protect your resin while it cures. This prevents dust particles from sticking to the surface and ruining the finish.
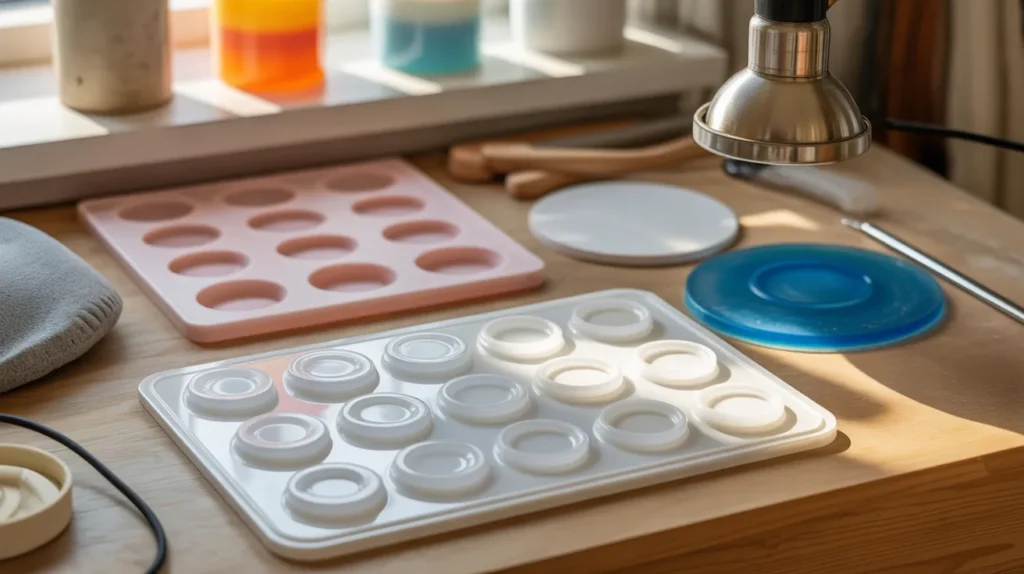
Silicone Molds
Good-quality silicone molds can also help with the curing process. They hold the resin in shape and allow it to set evenly without sticking to the mold. Using these basic tools can improve curing results and help create smoother and stronger resin crafts.
Factors That Affect Resin Drying Time
The time it takes for resin to harden can vary depending on several conditions. If these factors are not controlled properly, the resin may cure slowly or remain sticky. Understanding these points can help you get better results in your projects.
Type of Resin
Different types of resin cure in different ways. UV resin usually hardens quickly under ultraviolet light, while epoxy resin cures slowly through a chemical reaction after mixing with a hardener.
Temperature
Temperature plays a very important role in the curing process. Resin usually hardens faster in a warm environment. If the room is too cold, the curing process may slow down or stop.
Resin Thickness
Thicker layers of resin take longer to cure. If too much resin is poured at once, the inside may stay soft while the surface becomes hard. Using thinner layers helps the material cure more evenly.
Mixing Ratio
For two-part resin, the correct mixing ratio is very important. If the resin and hardener are not mixed properly, the chemical reaction may not work correctly, which can cause soft or sticky results.
Humidity Level
High humidity in the air can affect the curing process. Too much moisture may cause cloudy resin or slow down the hardening process.
Air Circulation
Good airflow can help maintain stable conditions for curing. A closed and dusty area may affect the quality of the final result.
Resin Quality
Not all resin brands are the same. High-quality resin usually cures more consistently and gives clearer, stronger results. By paying attention to these factors, you can improve the curing process and avoid common problems in resin crafts.
How Long Does Resin Take to Dry Without UV Light?
The curing time of resin depends mainly on the type of resin and the conditions in which it is used. Some resins harden very quickly, while others need several hours to fully cure.
Epoxy resin usually takes longer to harden because it cures through a chemical reaction between the resin and the hardener. In most cases, it can take 12 to 24 hours for the resin to become firm. However, a full cure may take 24 to 72 hours, depending on the brand, temperature, and thickness of the layer.
If UV resin is placed in strong sunlight, it may start to harden within 20 to 60 minutes. However, the curing time can vary depending on how strong the sunlight is and how thick the resin layer is. Temperature also plays an important role. In a warm environment, resin usually cures faster. In colder conditions, the process can slow down and may take much longer. For the best results, it is important to leave the resin piece undisturbed in a clean and warm place until it becomes fully hard. Rushing the process can lead to soft or sticky results.
Common Problems When Drying Resin Without UV Light
When resin cures without special lighting equipment, a few problems can sometimes occur. These issues usually happen because of temperature, mixing mistakes, or environmental conditions. Understanding these common problems can help you avoid them in future projects.
Sticky or Soft Surface
One of the most common problems is a sticky or soft surface. This usually happens when the resin has not fully cured. It can be caused by low temperature, incorrect mixing, or not enough curing time.
Uneven Curing
Sometimes the top layer may feel hard while the inside remains soft. This often happens when the resin layer is too thick or the curing conditions are not stable.
Air Bubbles
Small bubbles can appear inside the resin during the curing process. These bubbles are usually caused by mixing too quickly or by trapped air inside molds.
Cloudy or Dull Finish
Resin is normally clear, but it can become cloudy if the environment is too humid or if the materials were not mixed properly.
Dust and Dirt on the Surface
If the resin is left uncovered while curing, dust particles can settle on the surface. This can ruin the smooth and glossy finish of the final piece. Most of these problems can be avoided by using the correct mixing ratio, keeping the workspace warm, and protecting the resin while it cures.
Tips to Cure Resin Properly Without UV Lamps
Curing resin without specialized lighting is possible, but it requires attention to detail and the right techniques. Here are some practical tips to ensure your projects harden well and look professional.
Maintain a Warm Environment
Resin cures faster and more evenly in a warm room. Aim for a temperature around 24–30°C (75–86°F). Avoid cold or drafty areas, as low temperatures can slow down the hardening process.
Mix Resin Correctly
For two-part resin, always follow the recommended resin-to-hardener ratio. Improper mixing can prevent the chemical reaction from occurring, leading to sticky or soft spots. Mix slowly to reduce bubbles.
Work in Thin Layers
Thick resin layers take longer to cure and may harden unevenly. Applying thin layers helps the resin solidify consistently from top to bottom.
Protect from Dust and Debris
Cover your resin pieces with a dust-free container or box while curing. This prevents small particles from sticking to the surface and keeps the finish smooth and glossy.
Be Patient
Some resins require several hours to fully harden. Avoid touching or moving the piece too soon. Giving it enough time ensures a strong and durable finish.
Use Quality Materials
High-quality resin and molds provide better results and reduce the risk of curing issues. Cheaper materials may cure inconsistently or produce a cloudy finish. Following these tips can help your resin projects cure properly, even without specialized lighting, resulting in clear, smooth, and long-lasting pieces.
When You Still Need a UV Lamp
While there are ways to cure resin without a UV light source, there are certain situations where a lamp is still necessary. Knowing when it is required can save time and prevent mistakes.
Working with UV Resin Only
UV resin is specifically designed to harden under ultraviolet light. Without exposure to UV rays, it may remain sticky or fail to cure properly, even with sunlight or warm conditions.
Quick Projects
UV lamps can cure resin in minutes, making them ideal for small or time-sensitive projects. If you need fast results, natural alternatives may not be sufficient.
Intricate or Thick Designs
For detailed pieces or thicker layers, curing under a UV lamp ensures that the resin hardens evenly throughout. Sunlight or room temperature methods may leave the interior soft or uneven.
Professional or Commercial Work
For jewelry makers and artists selling products, a UV lamp provides consistent results and a polished finish, which is important for customer satisfaction. In these cases, investing in a good UV lamp is worthwhile. It guarantees faster curing, better consistency, and fewer issues like sticky surfaces or uneven layers.
Final Thoughts
Learning how to dry resin without UV light can be a game-changer for crafters who don’t have access to a UV lamp. While UV resin typically requires ultraviolet exposure to harden, alternatives like sunlight, warm environments, and using epoxy resin allow projects to cure successfully without specialized equipment.
Understanding the type of resin you are working with, applying thin layers, maintaining proper temperature, and giving the material enough time to set are key factors for achieving a smooth and durable finish. Additionally, using simple tools like dust covers, silicone molds, or heating pads can improve results and prevent common problems such as sticky surfaces or air bubbles.
For beginners or hobbyists, these methods provide flexibility and make resin crafting more accessible. However, for quick curing, thick layers, or professional projects, a UV lamp may still be the most reliable option. By following the techniques and tips shared in this guide, you can confidently complete your resin projects and achieve high-quality results, even without relying on a UV lamp.
FAQs
Can UV resin cure in sunlight?
Yes, sunlight contains natural UV rays that can help UV resin harden. However, the curing time is longer compared to a UV lamp, and the results may be less consistent depending on sunlight strength and resin thickness.
How long does epoxy resin take to harden?
Epoxy resin cures through a chemical reaction between the resin and hardener. Thin layers usually harden in 12–24 hours, while a full cure may take up to 72 hours depending on temperature and humidity.
Does temperature affect resin curing?
Absolutely. Warm environments help resin harden faster, while cold conditions slow the curing process. Maintaining a stable temperature around 24–30°C (75–86°F) is ideal for even hardening.
How can I avoid bubbles in resin?
Bubbles are often caused by mixing too quickly or trapping air in molds. Mixing slowly, using a heat gun or torch lightly over the surface, and pouring thin layers can minimize air bubbles.
Can I use resin without a UV lamp for jewelry making?
Yes, you can use epoxy resin as an alternative. It cures without UV light and is perfect for jewelry, keychains, and small crafts, though it requires more time to fully harden.
Why does my resin stay sticky?
Sticky resin usually occurs when the curing process is incomplete. This can happen due to low temperature, incorrect mixing ratios, or pouring layers that are too thick. Ensuring proper conditions and patience usually solves the issue.
What tools can help resin cure evenly?
Using silicone molds, dust covers, heating pads, and warm curing spaces can help resin harden uniformly and prevent issues like dust, uneven surfaces, or soft spots.